Why Background Removal Became an Everyday Skill
A decade ago, cutting a subject out of a photo meant Photoshop, the pen tool, and an hour of your life. Today it's a three-second job in a browser tab — and it's quietly become one of the most useful everyday editing skills. Sellers need clean product shots for Amazon and Shopify listings. Job seekers want a polished LinkedIn photo without a messy room behind them. Creators need punchy YouTube thumbnails and social posts that pop.
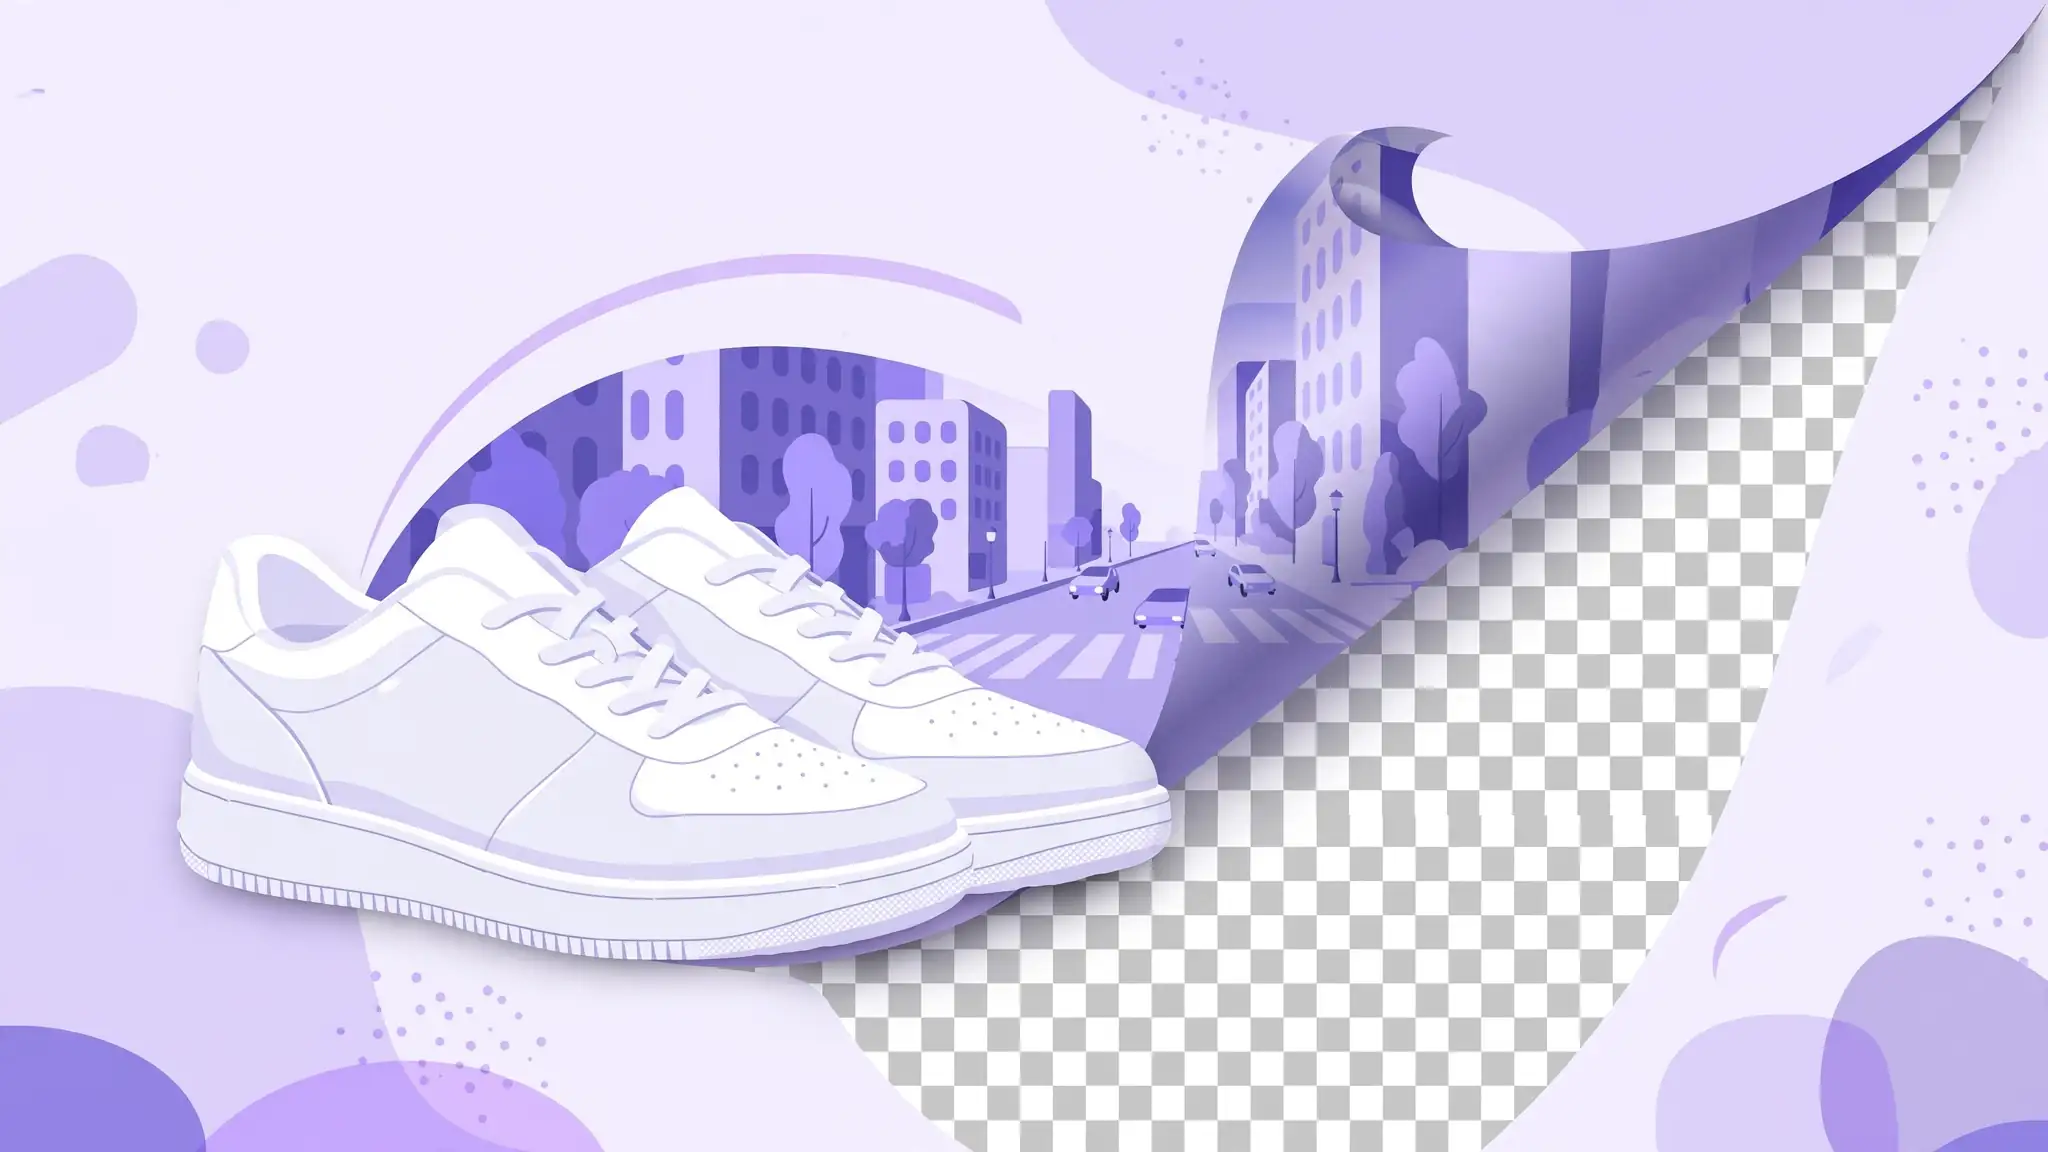
The reason is simple: a clean cutout looks professional, and professional-looking images convert. Listings with clean, consistent product images get more clicks than cluttered ones. A transparent PNG of your product can be dropped onto any background — white for Amazon, brand colors for your store, lifestyle scenes for ads — without ever reshooting. Once you can remove a background in seconds, you stop accepting 'good enough' photos.
How to Remove a Background in Three Steps
Modern background removers use AI segmentation models that detect the main subject — a person, product, pet, or object — and separate it from everything behind it. You don't trace edges or pick colors; the model does the hard work, and the whole process takes seconds.
It works best on photos with a clear, well-lit subject that stands out from what's behind it. Busy backgrounds in similar tones to the subject are harder for any tool — but even then, you usually get a result that's 90% there in seconds instead of starting from zero.
- Open the free Background Remover and upload your photo (JPG, PNG, or WebP).
- The AI detects the subject automatically and erases the background.
- Preview the cutout, zoom in to check the edges, then download as a transparent PNG.
5 Tips for Clean, Professional Cutouts
The tool does the heavy lifting, but your source photo decides how good the result can be. These five habits separate crisp, believable cutouts from ones that look obviously cut out.
One more pro tip: if the result has a faint halo of the old background color around the edges, that's usually from aggressive JPEG compression in the source photo, not the remover. Starting from the highest-quality original you have minimizes it.
- Start with a high-resolution image — more pixels mean cleaner, smoother edges.
- Shoot with contrast: a dark product on a light background (or vice versa) cuts out far better than similar tones.
- For hair, fur, or frayed fabric, zoom in after processing and check for halos or missing strands.
- Always download as PNG. JPG can't store transparency and will fill the background with white.
- Watch the free-tier resolution trap: some tools remove backgrounds free but only let you download a small version unless you pay.
Mistakes That Ruin Background Removal
Most bad cutouts come from the same handful of avoidable errors. Knowing them in advance saves you from discovering them on a live product page.
The shadow point deserves emphasis. Beginners obsess over edge perfection and skip the shadow entirely, but a missing shadow is what makes most cutouts look fake at a glance. A soft contact shadow takes ten seconds to add and sells the realism.
- Cutting edges too tight — shaving a pixel off the product itself makes it look slightly shrunken and unnatural.
- Forgetting the shadow — a product with zero shadow looks pasted on. Add a soft, subtle shadow to ground it.
- Inconsistent backgrounds across a catalog — pick one standard (usually pure white) and apply it to every product.
- Exporting at low resolution — marketplaces want large images for zoom. Keep your cutout high-res.
- Saving the final as JPG — the white box comes back. Transparency only survives in PNG (or WebP).
What to Do With Your Transparent PNG
A transparent PNG is a building block — the same cutout can serve your store, your social channels, and your ads. Here are the highest-value uses:
Keep your transparent PNGs as masters. Generate the white-background, colored, or lifestyle versions from those masters — that way one set of cutouts serves your store, your ads, and your social posts without redoing the work.
- Product listings: drop the cutout onto pure white for Amazon-style main images that meet marketplace rules.
- Profile pictures: place yourself on a solid brand color for a consistent, professional team page.
- Thumbnails and social posts: cutouts pop against bold backgrounds on YouTube, Instagram, and TikTok.
- Logos and graphics: a transparent version sits cleanly on both light and dark designs.
- Ads and flyers: reuse one product cutout across every campaign instead of reshooting.