Why Image Size Is Silently Hurting You
Images are the heaviest thing on the average web page — often more than half the total page weight. An unoptimized 4MB phone photo on your homepage doesn't just load slowly; it costs you visitors. Each extra second of load time pushes more mobile users away, and Google's Core Web Vitals, including Largest Contentful Paint, factor image loading directly into search rankings.
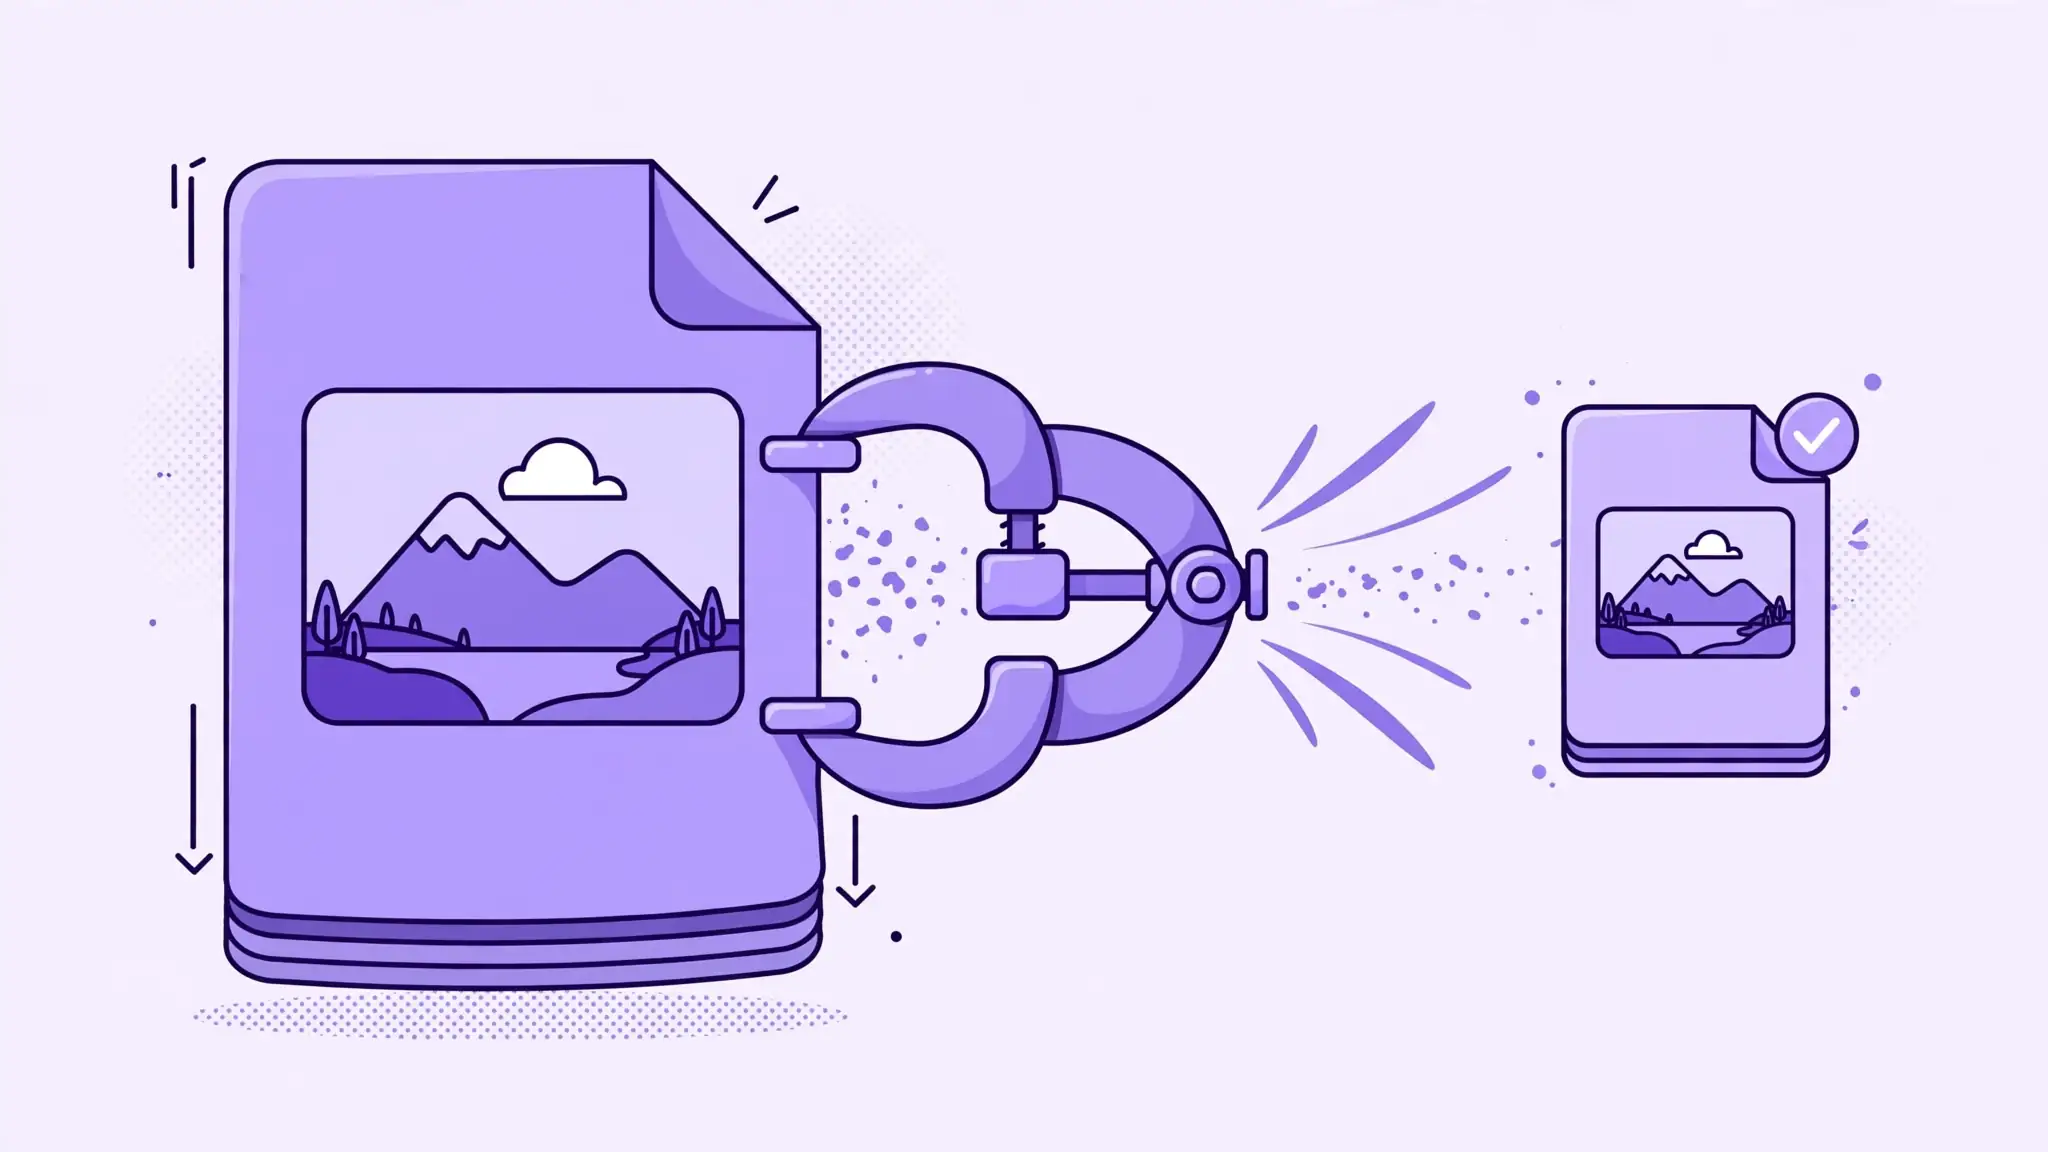
It's not just websites. Email attachments bounce off 25MB limits, job portals reject oversized uploads, and messaging apps compress your photos into mush when you send the originals. Learning to compress properly — shrinking the file without visibly harming the image — is one of those small skills that pays off weekly.
How Much Can You Compress Without Visible Loss?
For JPG photos, a quality setting of 75-85% is the sweet spot: the file typically shrinks by 50-70% while looking identical to the original at normal viewing sizes. The human eye simply can't see the data discarded at these levels. Drop below 60% and you'll start noticing blockiness in skies and gradients.
For PNG graphics, lossless compression trims 10-30% with literally zero quality change — every pixel stays exact. And if your use case allows it, converting to WebP instead of JPG gives you a file 25-35% smaller at the same visual quality. The right setting depends on the image: a detailed photo with hair, grass, or complex textures shows artifacts sooner than a simple graphic with flat colors.
- JPG at 75-85% quality: 50-70% smaller, visually identical for photos.
- PNG lossless: 10-30% smaller, zero quality change, transparency preserved.
- WebP: 25-35% smaller than JPG at the same quality — best choice for modern websites.
The Right Order: Resize, Convert, Then Compress
Most people compress first and resize later. That's backwards. A 4000px-wide phone photo displayed in an 800px column wastes the vast majority of its pixels — and the compressor has to work on all of them. Resize to the actual display size first (1200-1500px wide covers most web uses), and you've already cut the file dramatically before compression even starts.
The optimal workflow is: resize to display dimensions, convert to the most efficient format your audience supports (WebP for modern browsers), then compress. Doing it in this order routinely produces files half the size of compress-first approaches. Bonus step: strip EXIF metadata — camera settings and GPS coordinates add weight and leak your location.
- Step 1 — Resize: shrink pixel dimensions to the largest size the image will actually display at.
- Step 2 — Convert: switch to WebP for web use; it's 25-35% smaller than JPG at equal quality.
- Step 3 — Compress: apply lossy compression for photos, lossless for graphics.
- Step 4 — Strip metadata: remove EXIF data to save a little space and protect privacy.
5 Mistakes That Ruin Compressed Images
Compression is forgiving, but these errors compound fast:
The recompression mistake is the big one. Each JPG save applies lossy compression on top of the last, and the damage accumulates. If you'll edit the image again later, keep a PNG or original master and compress only the final export.
- Recompressing an already-compressed JPG — every save discards more data. Compress once to your target and stop.
- Compressing before resizing — you're optimizing pixels you're about to throw away.
- Using one quality setting for everything — screenshots with text need higher quality than soft photos.
- Ignoring the format — a photographic PNG can be 5x larger than the same image as JPG; pick the format first.
- Judging quality on a thumbnail — always check the compressed result at full viewing size before shipping it.
Compression and SEO: The Hidden Ranking Factor
Page speed is a confirmed Google ranking signal, and oversized images are the single most common cause of slow pages. Compressing your images can move Core Web Vitals scores from 'Needs Improvement' to 'Good' — particularly Largest Contentful Paint, which measures how fast the main content loads. For image-heavy pages, this is often the highest-ROI SEO fix available.
The free Image Compressor handles this in seconds: drop in a JPG or PNG, adjust the quality slider, and download the lighter version. Everything runs in your browser, so your images never leave your device — no uploads, no signup, no waiting.