JPG vs PNG vs WebP: The 30-Second Version
Every image format is a tradeoff between file size, quality, and features. JPG uses lossy compression tuned for photographs — small files, universal support, but no transparency and quality loss on every re-save. PNG is lossless with full transparency — perfect pixels, but files 2-5x larger than JPG for photos.
WebP is the modern middle ground: 25-35% smaller than JPG at the same visual quality, with transparency support and 97%+ browser support in 2026. For most web images today, WebP is the best default. AVIF squeezes even smaller — around 50% less than JPG — but encoding is slower and support, while growing, isn't universal yet.
When to Use Each Format: A Decision Guide
Run through these questions in order whenever you're about to publish an image:
That flowchart handles 95% of real decisions. The common mistakes: using PNG for photographs (files 5-7x larger than needed), using JPG for logos (ugly artifacts on sharp edges), and ignoring WebP entirely (leaving 30% file savings on the table). A quick audit of your site's ten heaviest images usually reveals at least three wrong-format choices worth fixing today.
- Is it a logo, icon, or simple illustration? Go SVG — vector beats every raster format.
- Is it for email, printing, or old software? Go JPG at quality 90+.
- Does it need transparency? Go WebP first, PNG as fallback.
- Will you edit it again later? Go PNG — lossless survives unlimited re-saves.
- A photo or screenshot for the web? Go WebP at quality 80-85.
How to Convert Image Formats in Seconds
Converting is just re-encoding the same pixels in a different container — no software to install. The free Image Converter does it entirely in your browser: drop in a JPG, PNG, or WebP, pick your output format, adjust the quality slider for lossy formats, and download. Your files never leave your device.
Batch tip: if you're converting a whole folder — say, turning a library of PNG screenshots into WebP for your blog — convert everything in one session with identical settings so results stay consistent.
- Drop your image into the converter (JPG, PNG, WebP, and more supported).
- Choose the output format — PNG for lossless and transparency, JPG for compatibility, WebP for smallest web files.
- Set quality for JPG/WebP (80-85 is the sweet spot), then download.
What Happens to Transparency When Converting?
This trips up everyone once: JPG has no alpha channel — no way to store transparency. When you convert a transparent PNG to JPG, those transparent areas get filled with a solid color, usually white. Your logo that floated cleanly on any background now sits in a white box.
Plan accordingly. Converting PNG to JPG is fine for photos and screenshots without transparency. But if the image needs to layer over colored backgrounds, keep it as PNG or convert to WebP instead — WebP supports transparency at much smaller file sizes than PNG. And remember: converting a JPG to PNG doesn't create transparency; it just gives you a format that can hold it after you remove the background.
Convert First, Compress Second
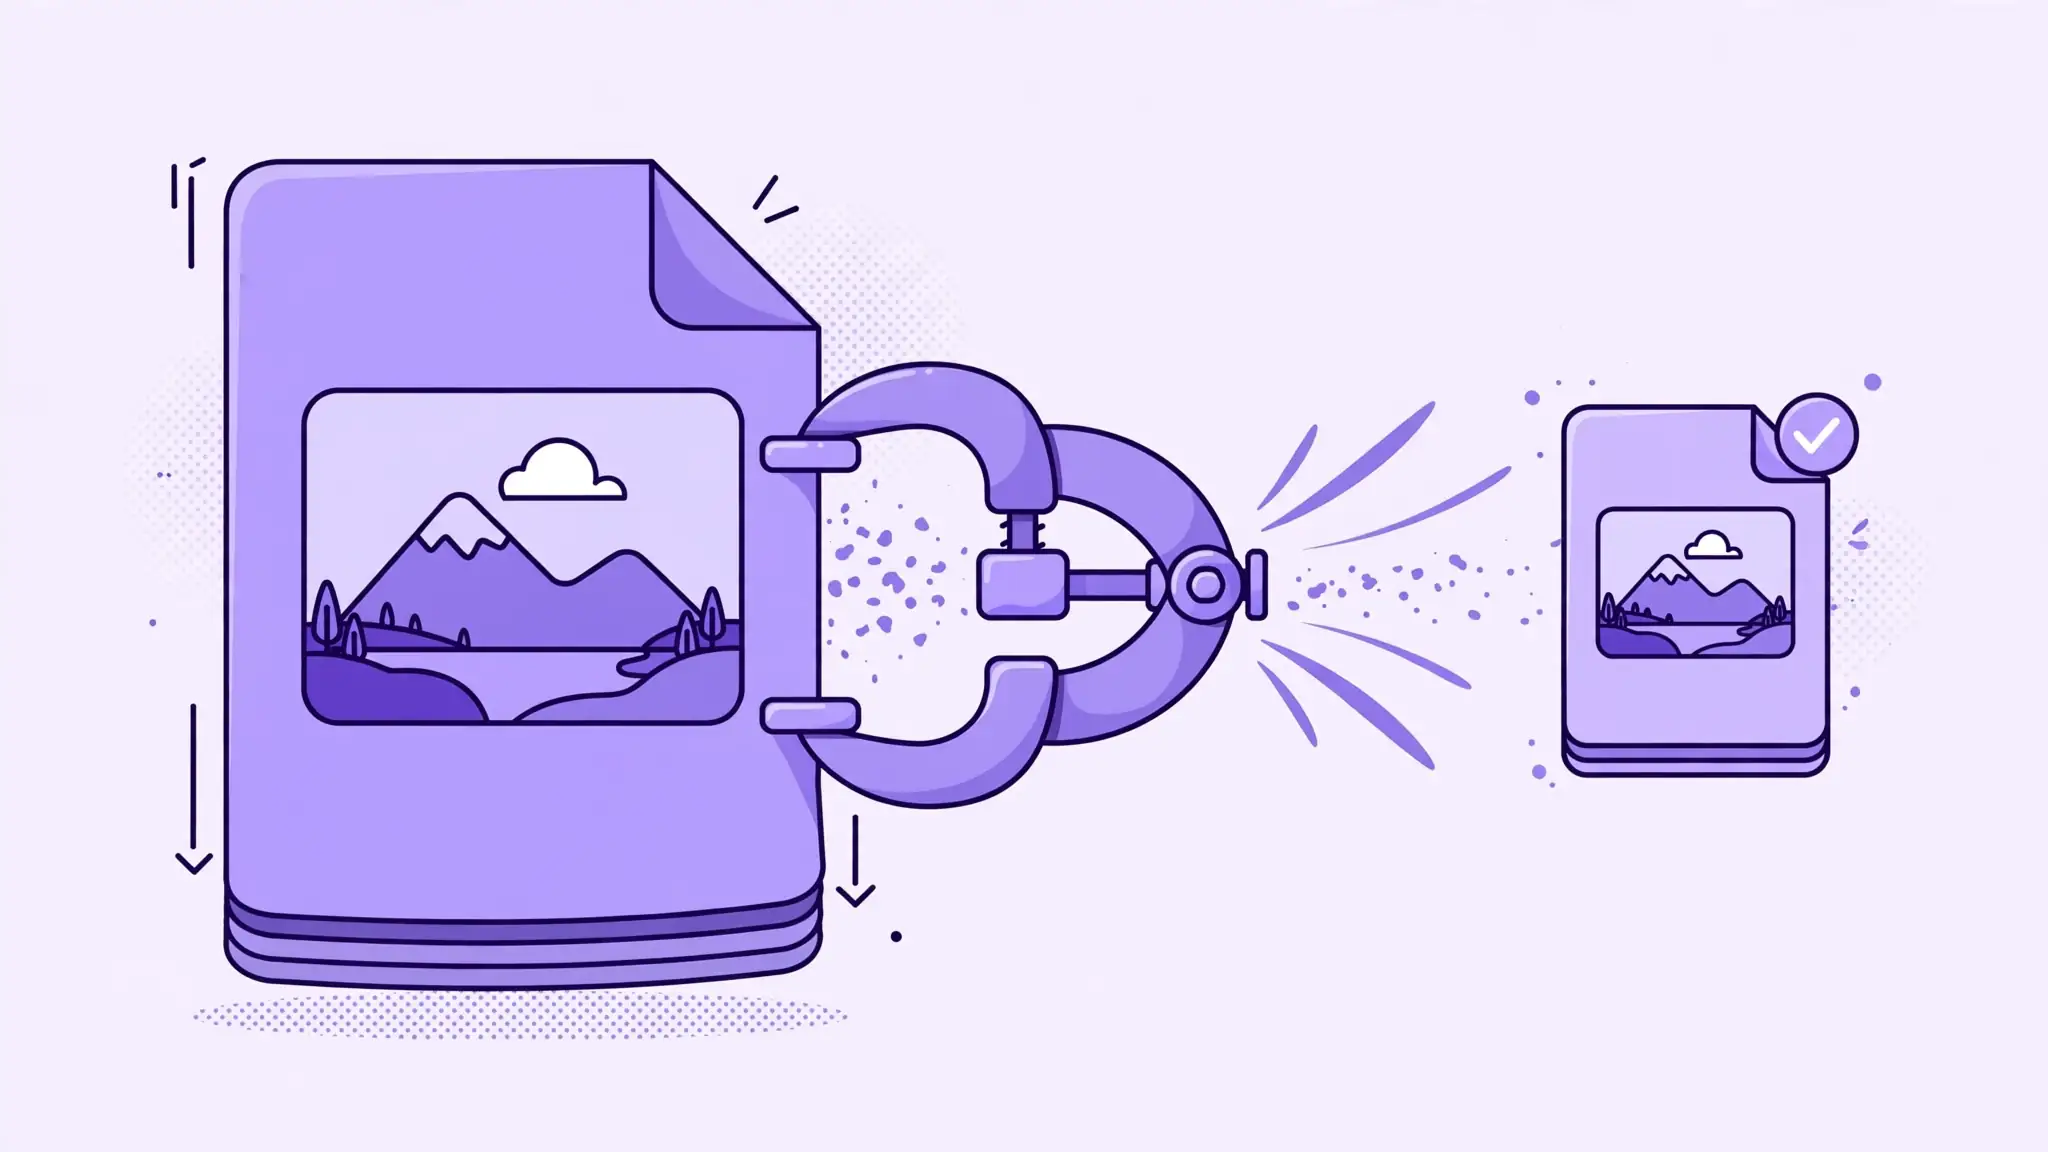
Conversion and compression are different jobs. A converter changes how the image is encoded; a compressor changes how aggressively data is discarded. Many workflows need both, in that order: convert to the right format first, then compress. Converting a photographic PNG to JPG alone often cuts 70-80% of the file — compression on top squeezes further.
Real example: a 2.4MB PNG screenshot becomes roughly 340KB as JPG at quality 80, and about 210KB as WebP — same visible quality, a tenth of the weight. Pick the format deliberately before touching the quality slider, because no amount of compression fixes a wrong format choice.