Why image size is your site's speed lever
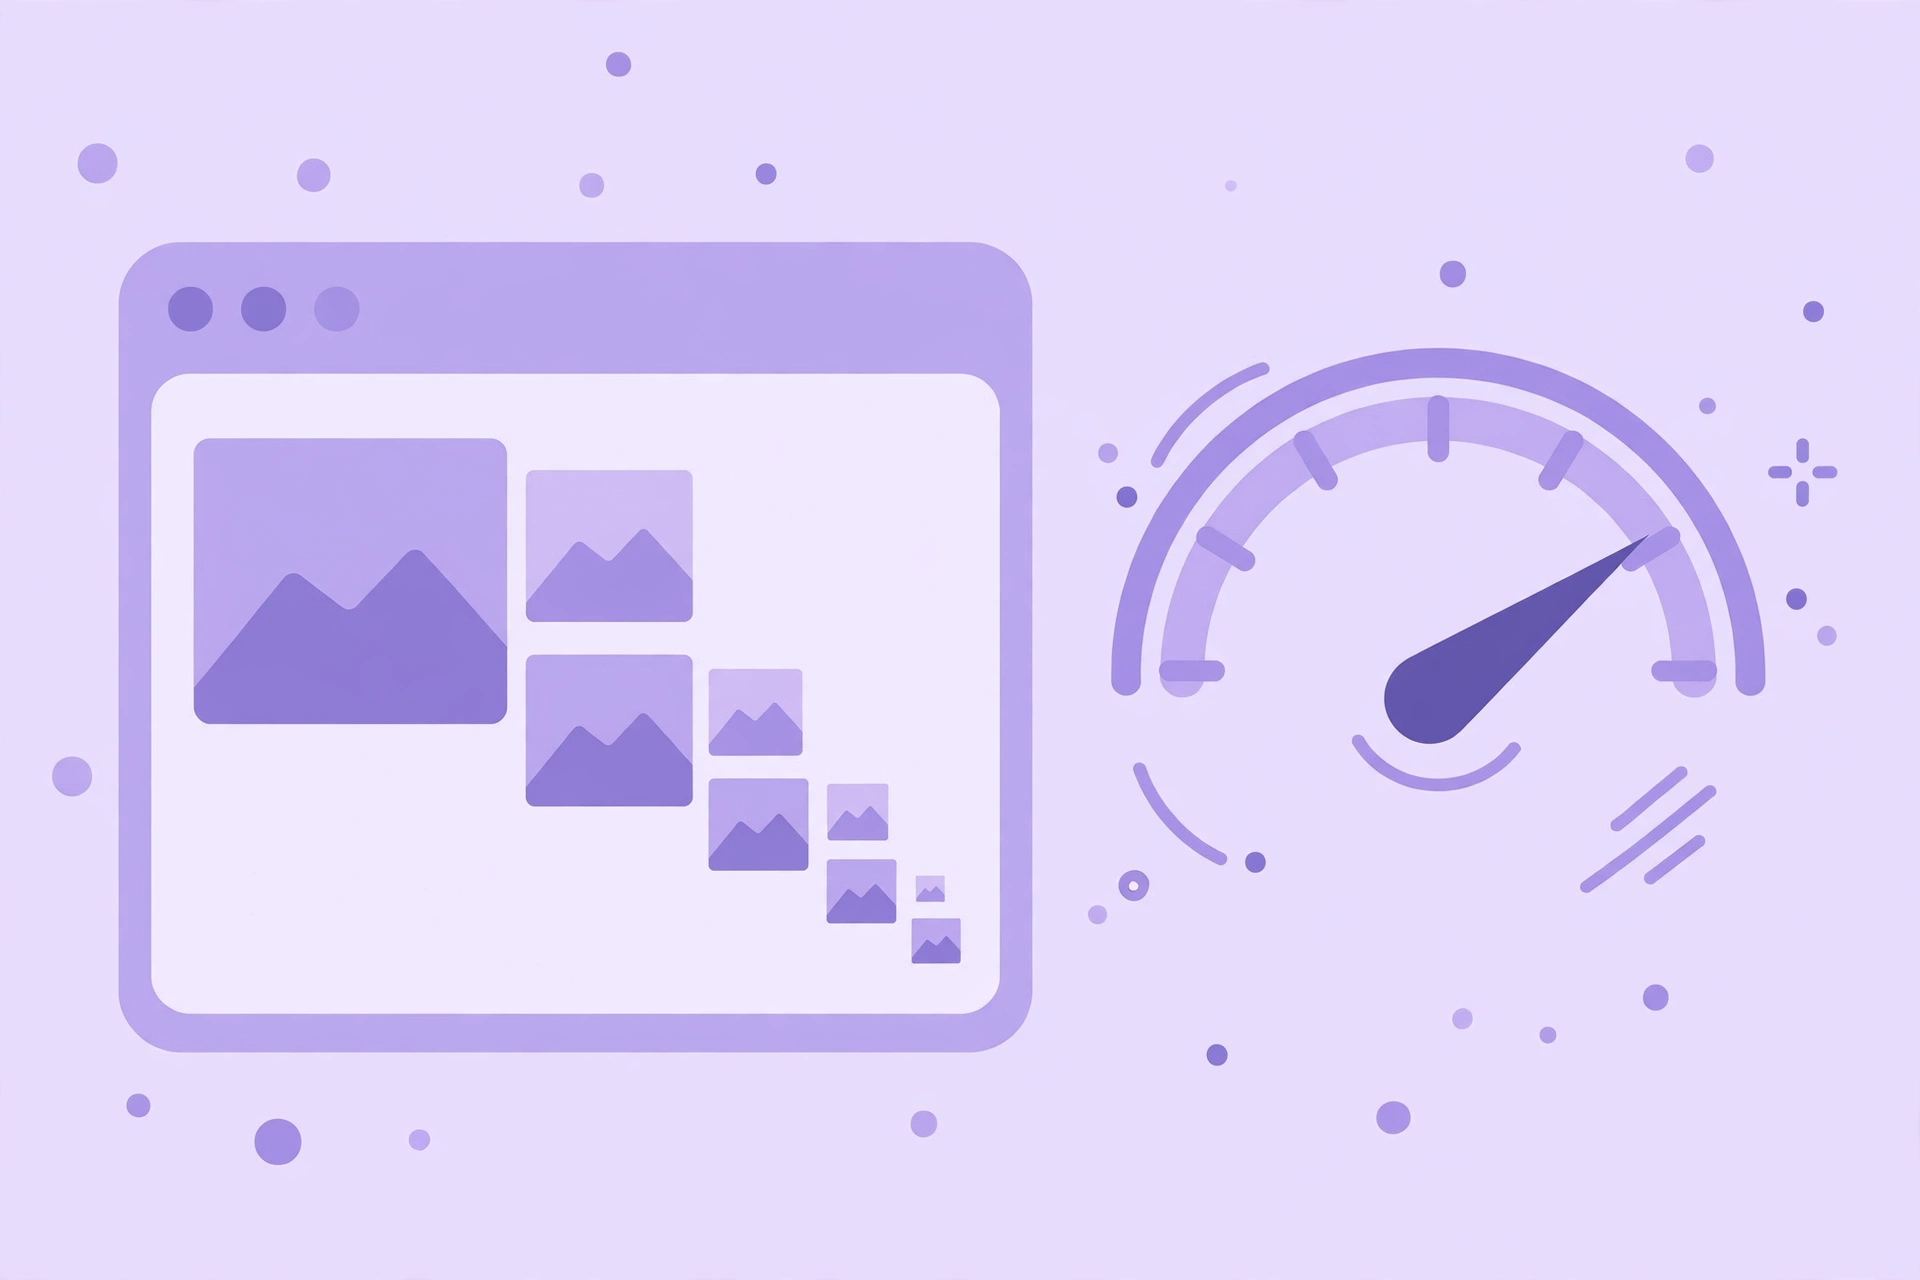
On a typical content page, images are the largest single contributor to page weight. Google's Core Web Vitals — the speed metrics that feed into rankings — include LCP (Largest Contentful Paint): essentially, how quickly the biggest visible element on screen finishes loading. On most pages, that biggest element is an image. A heavy hero image doesn't just annoy visitors; it directly worsens the metric Google measures.
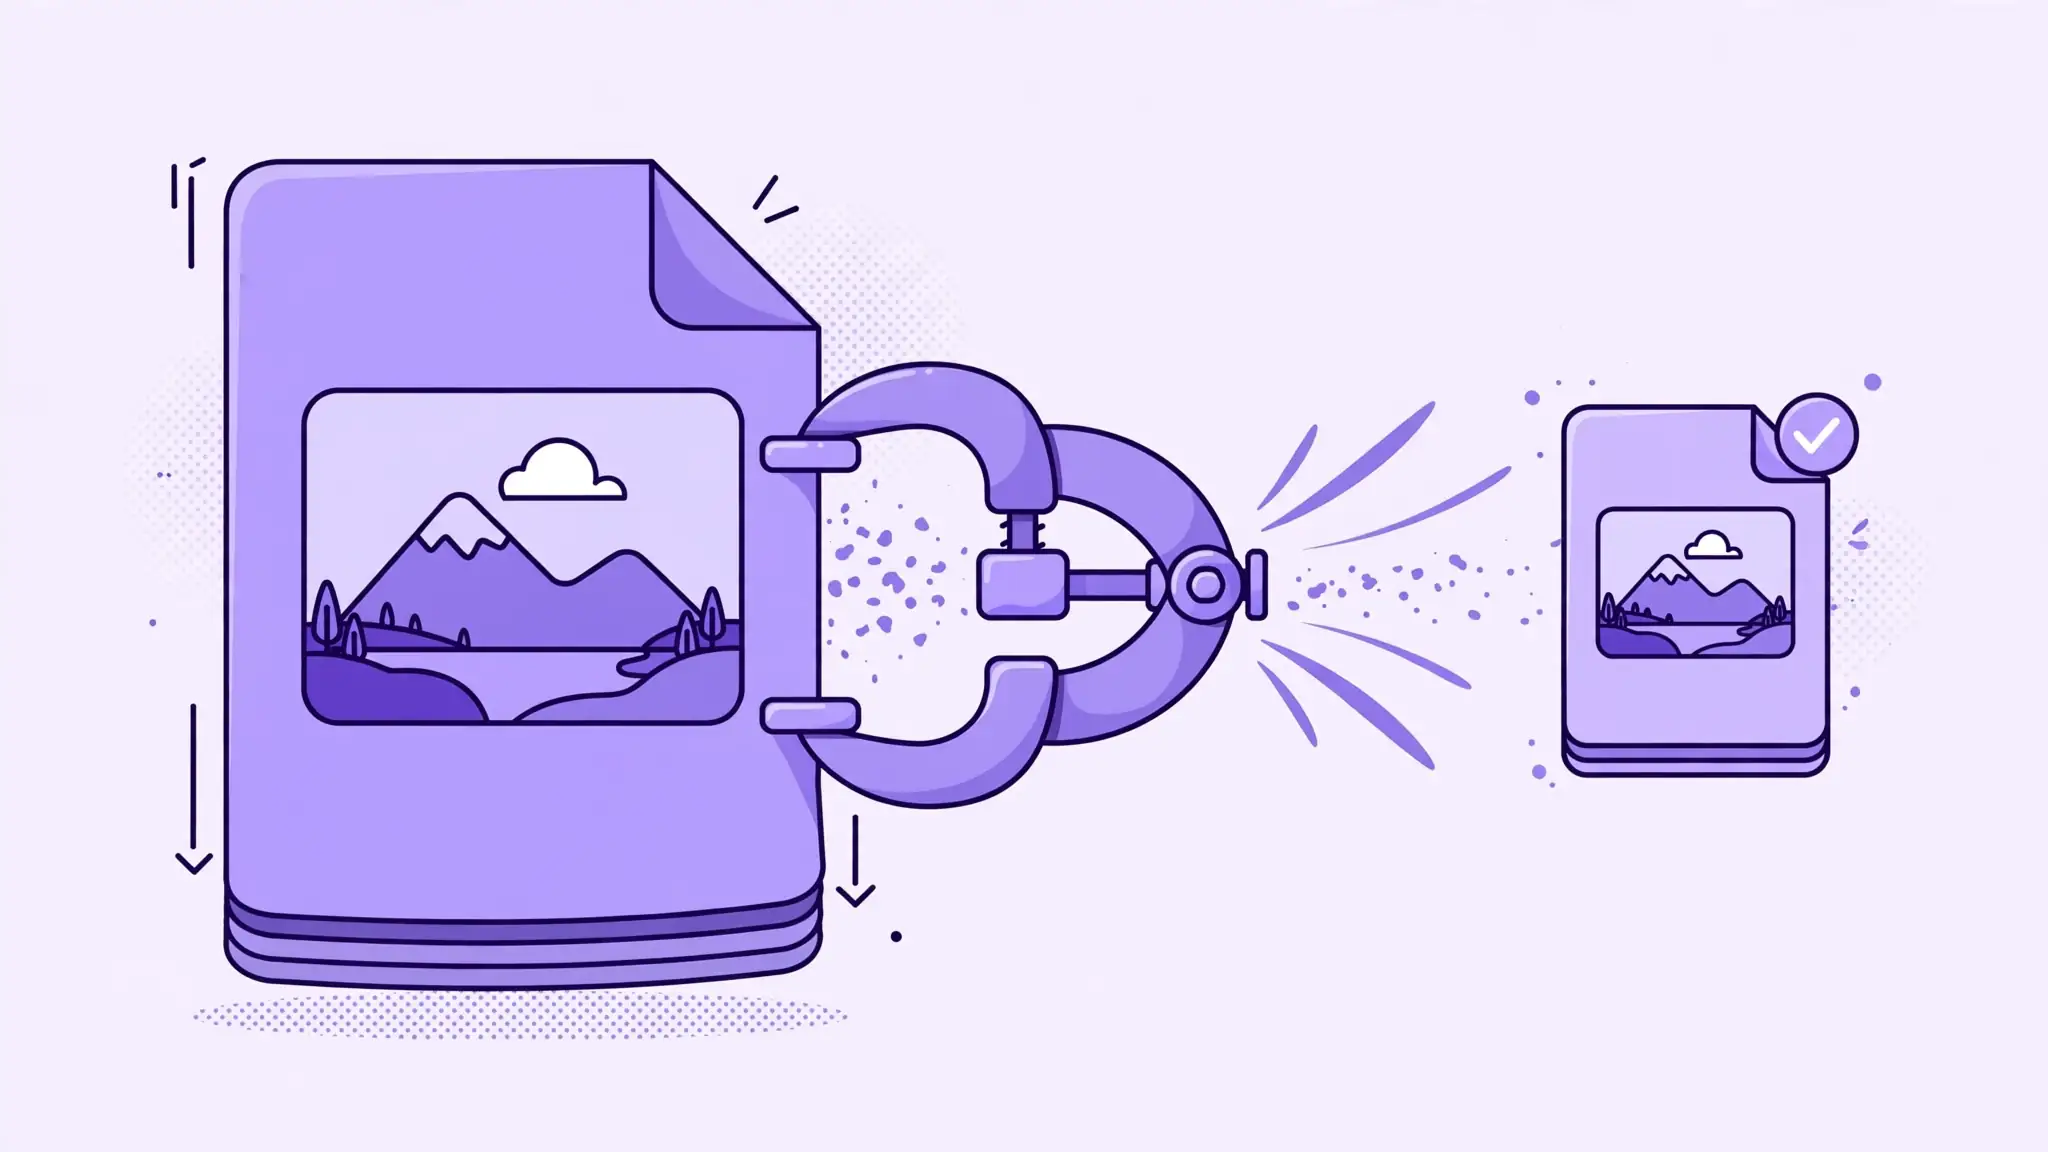
Illustrative example: imagine a blog post whose featured image is an unoptimized 2.4MB JPEG. Compressing it to 180KB — with no visible difference at its 1200px display size — removes roughly 2.2MB from the page's initial load. On a mid-range mobile connection, that's the difference between a page that feels instant and one that feels broken. (Figures illustrative; your savings depend on the original file.)
The takeaway: before touching code, caching plugins, or CDNs, shrink your images. Nothing else buys this much speed per minute of effort.
The 4 things that actually shrink an image
**1. Right dimensions — serve what you display.** A 4000px-wide photo displayed at 800px wastes roughly 96% of its pixels (5× the width means 25× the pixel count). Browsers download every one of those wasted pixels. Resize images to — or just above — their display size before uploading. A featured image shown at 1200px never needs to be 4000px.
**2. Right format — JPEG, PNG, or WebP.** JPEG for photographs: the universal standard, lossy, tiny files. PNG for graphics with flat colors, sharp text, or transparency needs: lossless, but much larger for photos — never use PNG for a photograph. WebP for modern browsers: roughly 25–35% smaller than JPEG at similar visual quality. The practical setup is WebP with a JPEG fallback for older browsers — most modern site builders and CDNs handle this automatically. Picking the right format is often a bigger win than any compression setting.
**3. Compression level — the quality slider.** For JPEG and WebP, the quality setting (typically 1–100) is the main lever. The sweet spot for web photos is usually 70–80: files shrink dramatically while looking identical at display size. Below about 60, blocky artifacts start appearing in skies, skin, and gradients. The right move is to set a quality level, run the compression, and check the actual output size — then adjust and re-run until the size lands where you want it.
**4. Metadata stripping.** Photos carry EXIF metadata: camera settings, timestamps, sometimes GPS coordinates. It's invisible to viewers but adds kilobytes to every file. Re-encoding an image in the browser typically strips this metadata automatically — one more quiet saving on top of compression.
KB targets cheat sheet
Practical guidelines, not lab measurements — use these as targets when compressing.
If an image lands far above its row, it's a candidate for re-compression. If it lands far below, check it still looks sharp — don't chase bytes past the point of visible quality.
- Hero / banner — display width 1600–2000px, WebP (JPEG fallback), target 150–300KB
- Blog featured image — display width 1200px, WebP / JPEG, target 100–200KB
- In-content image — display width 800px, WebP / JPEG, target 60–120KB
- Thumbnail — display width 300–400px, WebP / JPEG, target 20–50KB
- Product photo — display width 1000–1500px, WebP / JPEG, target 100–250KB
- Logo / icon — vector/SVG preferred, SVG or small PNG, target 5–30KB
Walkthrough: compress images for your site in 5 minutes
- Step 1 — Sort by type. Group your images: photos → JPEG/WebP; graphics, screenshots with text, logos → PNG (or SVG for logos).
- Step 2 — Resize to display dimensions first. Shrink each image to (or slightly above) the size it will actually display at. This single step often cuts more bytes than compression itself.
- Step 3 — Upload to the compressor. Open https://all-done.xyz/tools/image-compressor and drop in your resized image. It runs entirely in your browser — handy when you're working with client assets you shouldn't upload to random servers.
- Step 4 — Set quality, compress, check. Start the quality slider around 80 for photos and click Compress All. The readout shows original vs compressed size plus the percentage saved. If the result is still above your cheat-sheet target, nudge the slider down and re-run; if it's comfortably under, try nudging up for extra quality. You're balancing bytes against visible sharpness, and the readout makes the tradeoff concrete.
- Step 5 — Download, compare, ship. Download the compressed file, view it at its display size, and confirm it looks clean. Then replace the original on your site. Repeat per image — once you've done two or three, each one takes under a minute.
Mistakes that bloat websites
- Uploading camera-resolution images. The #1 offender: 4000px+ photos displayed at a fraction of that size.
- PNG screenshots of photographs. Screenshots default to PNG; a photographic screenshot saved as PNG can be 5–10× larger than the same shot as JPEG.
- Skipping WebP. Serving JPEGs to browsers that support WebP leaves that 25–35% saving on the table.
- Re-compressing already-compressed files. Each JPEG save discards detail. If you need a smaller file, go back to the highest-quality original you have.
- One file for every size. Using the same 2000px hero file as a 300px thumbnail forces mobile visitors to download the full weight. Serve appropriately sized versions.