What 'compress image to 50KB' actually means
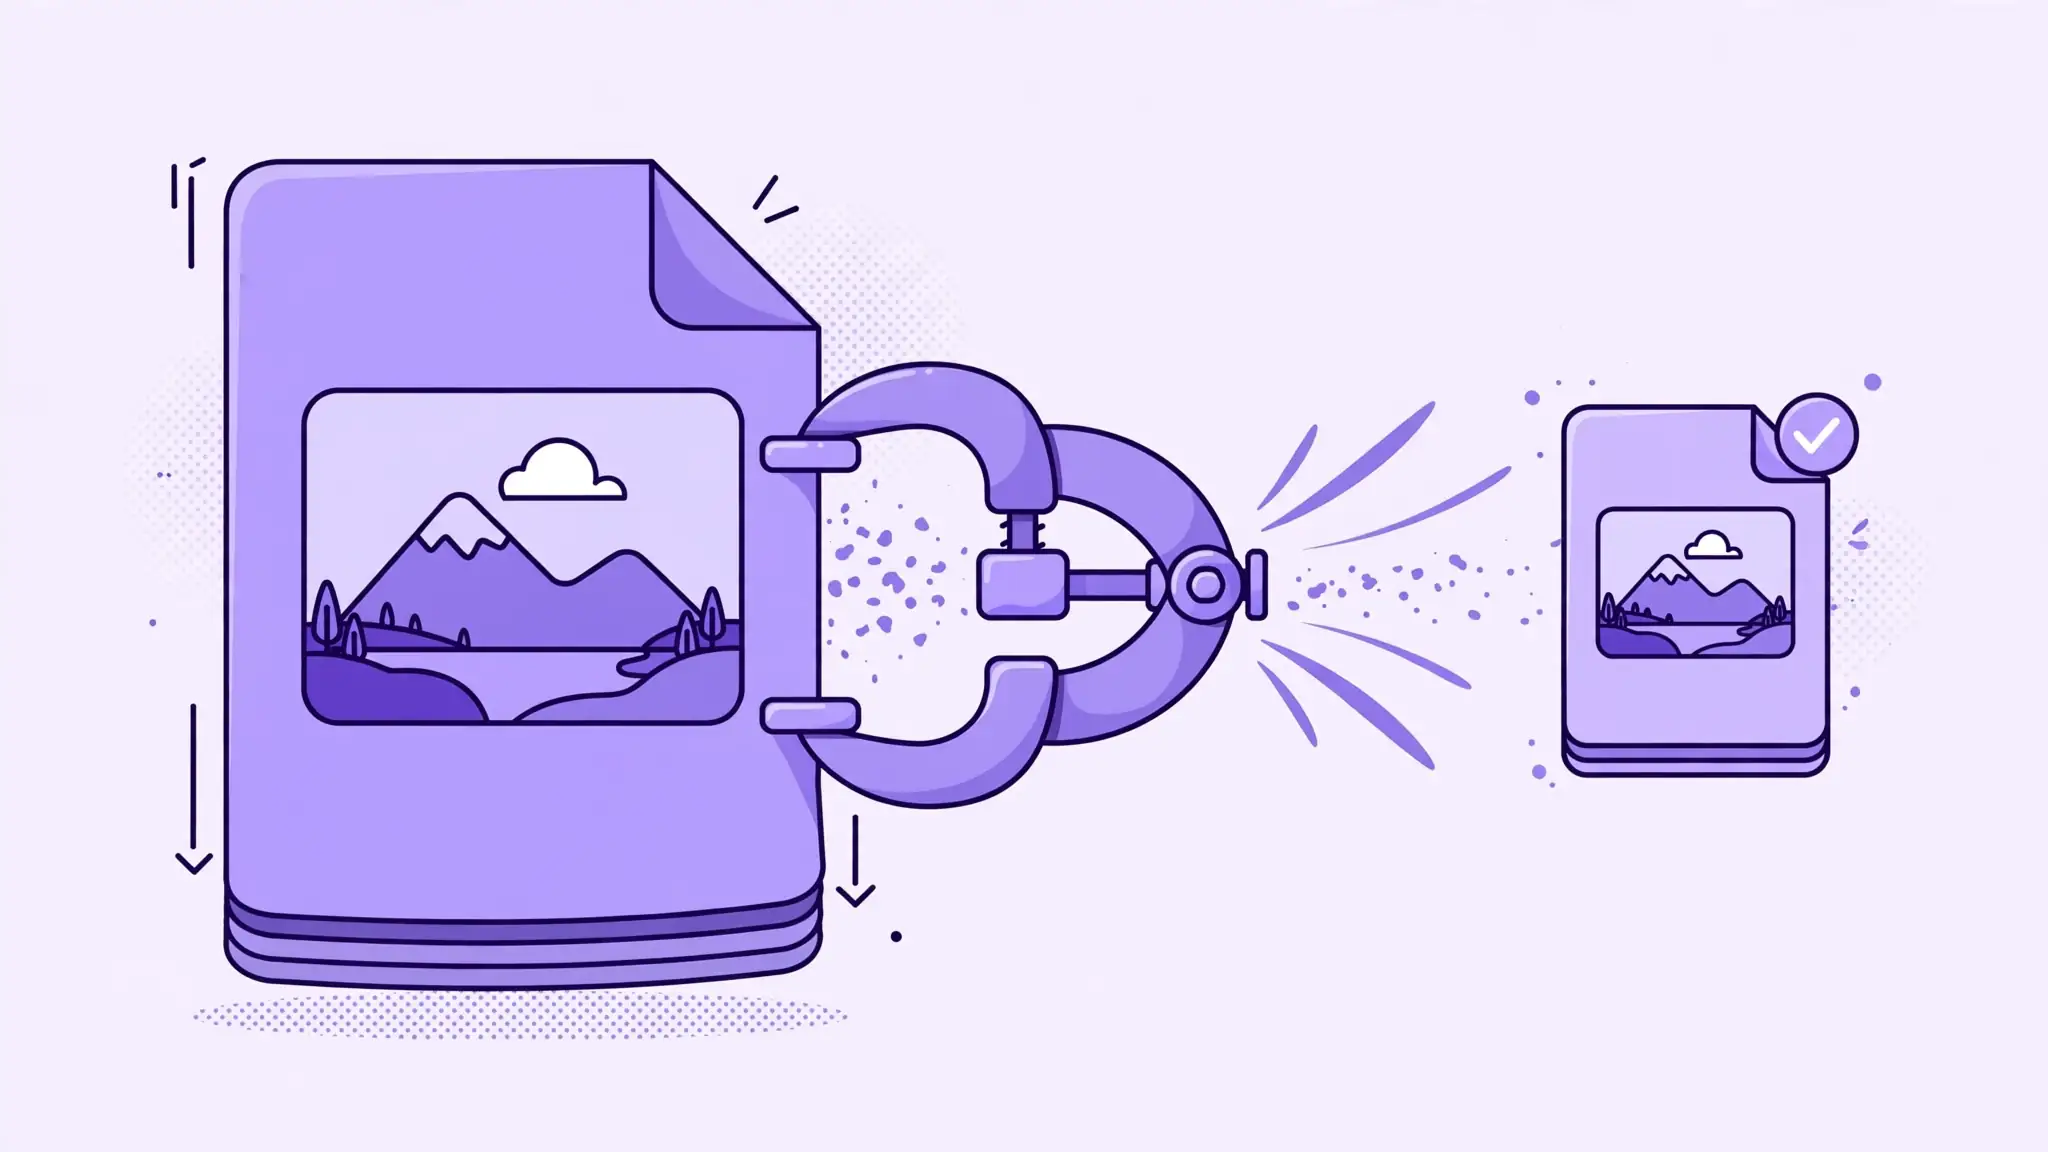
50KB means 51,200 bytes (50 × 1,024). Portals check the actual byte count of your file — 'about 50KB' isn't a thing to them, and 51,201 bytes can fail validation.
Here's what most guides won't tell you: no quality slider can promise an exact file size on the first try. That's because file size depends on image complexity, not just the quality setting. A flat passport-style background and a busy street scene saved at the same '80% quality' produce wildly different file sizes — detail costs bytes.
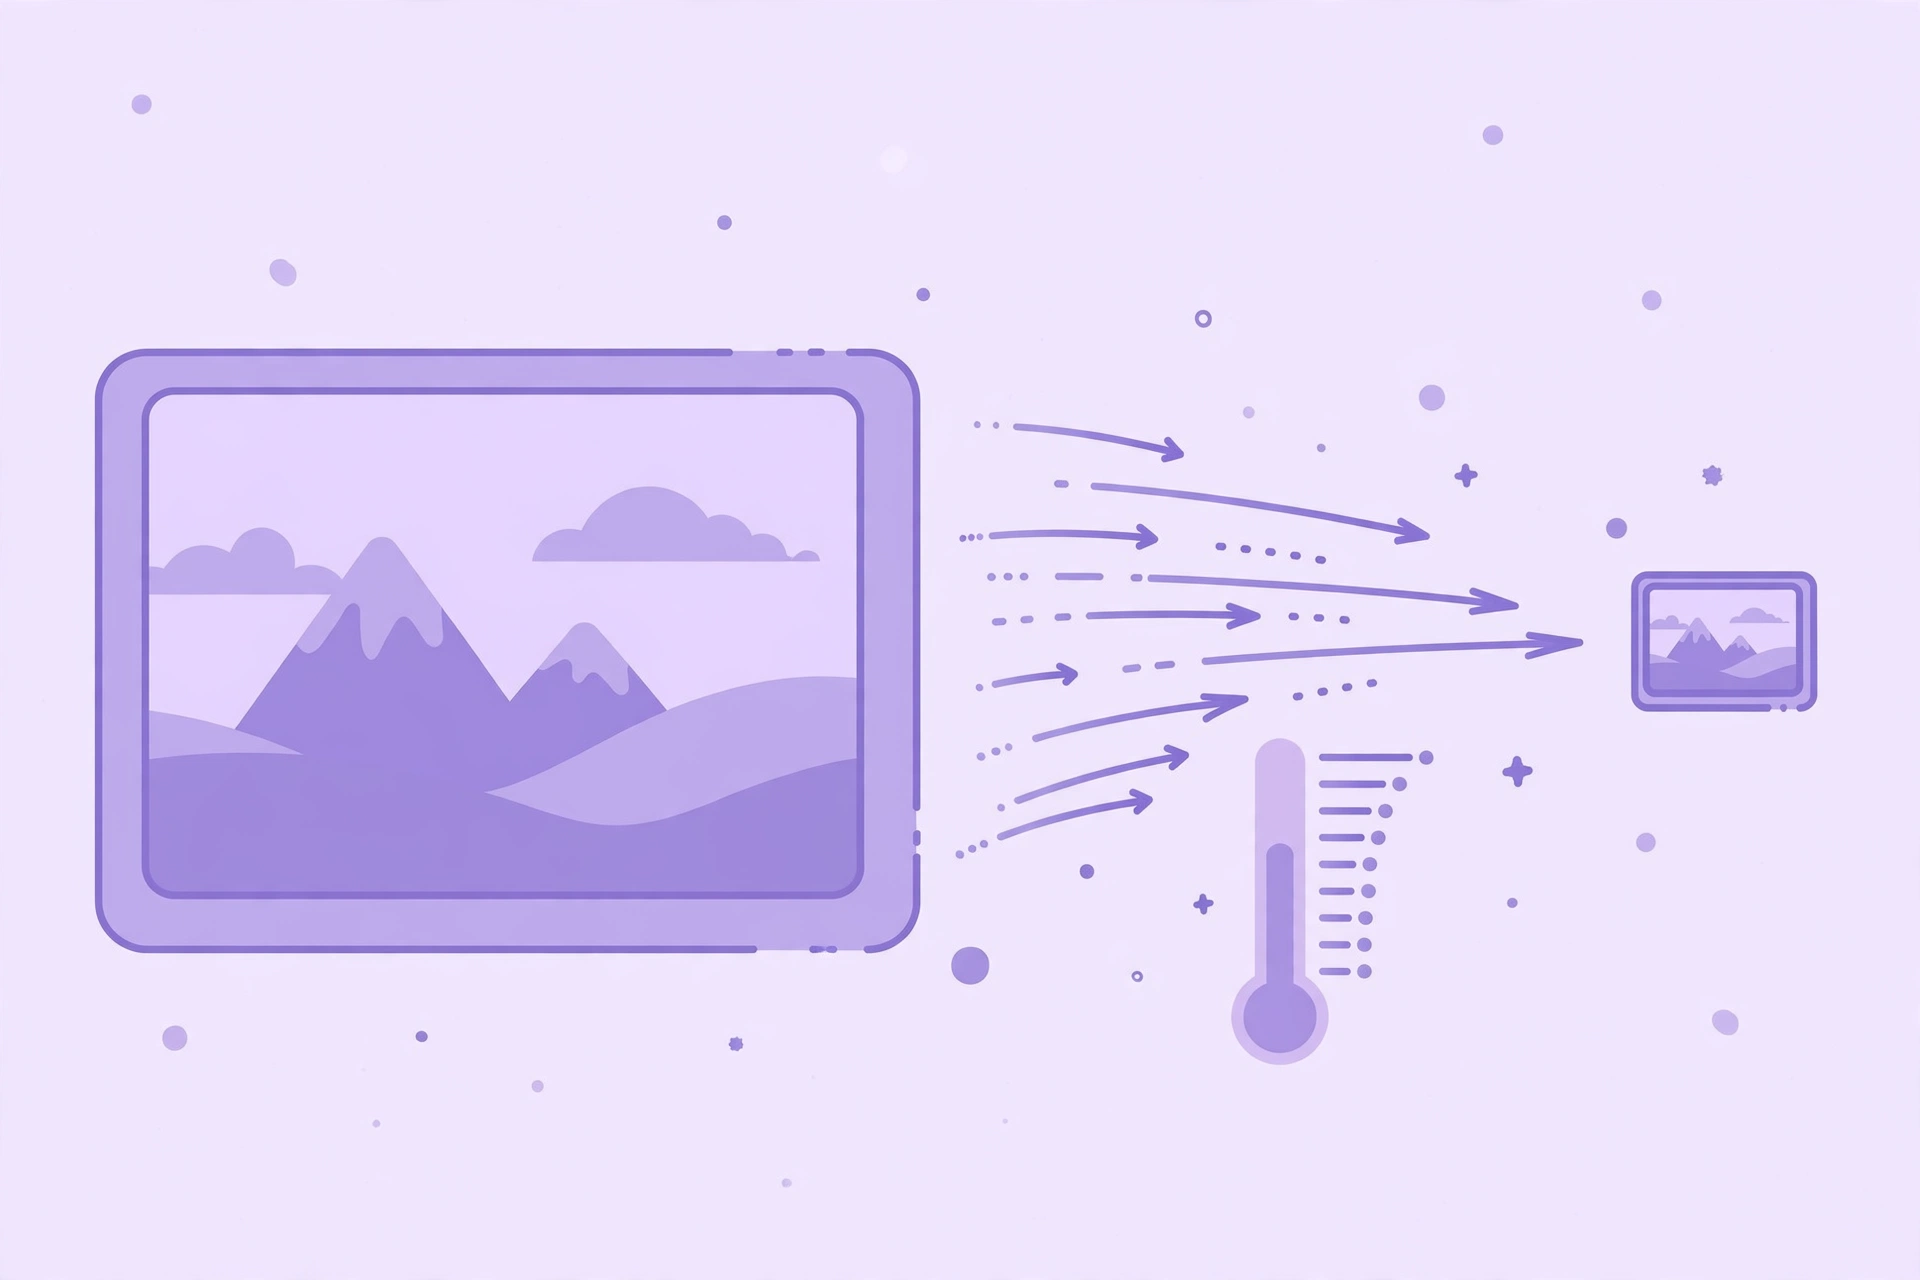
So how do you hit exactly 50KB? You iterate: set a quality level, compress, read the resulting size, adjust, and re-run. Doing that blind — compress, download, check the size, repeat — is miserable. Doing it with an instant size readout after each compression run takes seconds: set a quality level, hit Compress All, check the compressed size, nudge the slider down and re-run until it dips under 50KB. That's the whole technique, and it's the only honest way to hit an exact KB target with a free online tool.
When you need exactly 50KB
The 50KB cap shows up most often on government job applications, visa and immigration portals, and job application systems with strict attachment limits.
**50KB vs 100KB — which target should you pick?** If the form gives you a range (say 20–50KB), aim for the top of the allowed range — but never over it. More bytes mean more facial detail, and for ID verification, detail is what matters. A 48KB photo looks noticeably sharper than a 22KB one. The rule: get as close to the cap as you can without crossing it. Leave a small margin (1–2KB under) because some portals measure file size slightly differently.
- Government job applications — Indian portals such as SSC GD and IBPS commonly specify a 20–50KB range for the applicant photo
- Visa and immigration portals, which cap uploads to keep document processing fast
- Job application systems and professional profile uploads with strict attachment limits
How to compress an image to 50KB in 3 steps
That's it. Once you know the motion — slider down, Compress All, check the number, repeat until under the line — the whole process takes under a minute.
- Step 1 — Upload your photo. Open https://all-done.xyz/tools/image-compressor and drop in your photo. Everything runs in your browser — the file is never uploaded to a server.
- Step 2 — Set quality, compress, check, adjust. The tool shows your original size next to the compressed size, plus the percentage saved. Set the quality slider, click Compress All, and check the readout. Still over 50KB? Nudge the slider down and re-run until it reads just under 50KB — aim for around 47–48KB to leave a safety margin.
- Step 3 — Download and verify. Download the file, then check its size yourself: on Windows, right-click → Properties; on Mac, right-click → Get Info. Confirm it's under 51,200 bytes. If it's over, go back and nudge the slider down one more notch — and always re-compress from the original upload, not from the file you just downloaded.
Getting the best quality at 50KB
50KB is a tight budget, but how you spend it matters more than the number itself.
**Crop to the face first.** This is the single biggest quality win. A 50KB budget spread across a full-body photo gives every pixel a tiny share of bytes, and the face turns to mush. The same 50KB spent on a tight head-and-shoulders crop concentrates all those bytes on the face, and the result stays crisp. Crop before you compress, not after.
**Start from the original, not a re-compressed JPG.** Every time a JPEG is saved, it throws away detail — permanently. Compressing a photo that was already compressed (a WhatsApp-forwarded copy, a previously shrunk file) starts you with less detail and ends with visible blockiness. Always go back to the original camera file when you can.
**JPG vs WebP at 50KB.** WebP is roughly 25–35% smaller than JPEG at the same visual quality, so a 50KB WebP can look better than a 50KB JPEG. But — and this is the part that gets people rejected — most government and exam portals explicitly require JPG/JPEG and will reject WebP files outright. Check your form's format rule first. When in doubt, output JPEG: it works everywhere.
Before and after: what 50KB looks like
Let's be honest about expectations.
Illustrative example: take a typical 4MB phone photo. Cropped tight to the face and compressed to 48KB, it remains perfectly acceptable for ID verification — the face is clear and recognizable. Take that same 4MB photo as a wide street scene compressed to 48KB, and fine detail visibly softens. (Example described illustratively; your results depend on the original image.) The lesson: at fixed KB targets, cropping is quality.
- A tight head-and-shoulders crop: stays sharp. Facial features, glasses, even fabric texture remain clear. This is the use case 50KB was designed for, and it works.
- A full scene (a landscape, a group photo, a busy background): expect visible softness and some smearing in detailed areas. 50KB simply isn't enough bytes for a complex scene.
Troubleshooting: 'I compressed it and the form still rejects it'
If the portal still says no, run this checklist — the problem is rarely the bytes alone.
- Pixel dimensions. Many forms require specific dimensions too (a minimum width/height or an exact aspect ratio). A 48KB file at the wrong dimensions still fails.
- Format. The file must be JPG/JPEG if the form says so — not WebP, not PNG, regardless of size.
- Minimum-size rules. A '20–50KB' range rejects files under 20KB as well as over 50KB. Don't over-compress.
- Filename. Avoid spaces and special characters; keep the name short and the extension lowercase (.jpg).
- Re-compress from the original. If you've been compressing a compressed copy through several rounds, start over from the original file.
- Check the portal preview. If it shows a preview, make sure the face is recognizable — some portals run automated face detection.