Why PNG Files Are So Heavy
PNG is lossless — it preserves every pixel exactly. That's wonderful for quality and terrible for file size. A simple screenshot that looks like nothing can weigh 5MB as a PNG, because lossless encoding of millions of pixels is expensive. Even a plain white document scan with a few lines of text can hit several megabytes for the same reason. The same image as a JPG? Around 500KB, looking virtually identical to the human eye.
This weight causes real friction: email attachments bounce off size limits, upload forms reject your files, web pages crawl, and phone storage fills up. Converting PNG to JPG is the standard fix — JPG's lossy compression is ruthlessly efficient on photographic content, typically shrinking PNGs by 60-80%.
When Converting PNG to JPG Makes Sense
Reach for the converter when:
The pattern: whenever transparency and pixel-perfection don't matter, JPG wins on practicality. A 4MB PNG screenshot emailed as a 400KB JPG arrives faster, uploads cleaner, and looks the same on screen. For teams sharing dozens of screenshots daily — support tickets, design reviews, client feedback — the bandwidth and time savings add up fast.
- Emailing images — smaller files send faster and dodge attachment limits.
- Uploading to forms and portals — job applications, listing sites, and CMSs often expect JPG.
- Publishing photos on the web — JPG loads faster, improving page speed and Core Web Vitals.
- Sharing on social media — platforms recompress anyway; send them a sensible file.
- Saving storage — convert archives of screenshots and exports you don't need pixel-perfect.
The Quality Sweet Spot: 80-85%
JPG quality is a dial, not a switch. At 90-100%, files stay large with quality nobody can distinguish from the original — overkill for screen use. At 80-85%, you get the magic ratio: dramatically smaller files with no visible difference. This is the setting to memorize.
Drop to 70% for email and casual sharing where size matters most; artifacts stay subtle. Below 60%, blockiness creeps into gradients and flat areas — fine for thumbnails, bad for anything prominent. And for print or archival? Stay at 90%+ or keep the PNG. When in doubt, export two versions — one at 85% for general use and one at 70% for email — and compare them side by side at full size.
- 90-100%: print and archival — largest files, flawless quality.
- 80-85%: the sweet spot — 60-80% smaller, visually identical on screen.
- 70-80%: email and sharing — small files, minor artifacts only if you pixel-peep.
- Below 60%: thumbnails only — visible quality loss.
Warning: Transparency Becomes White
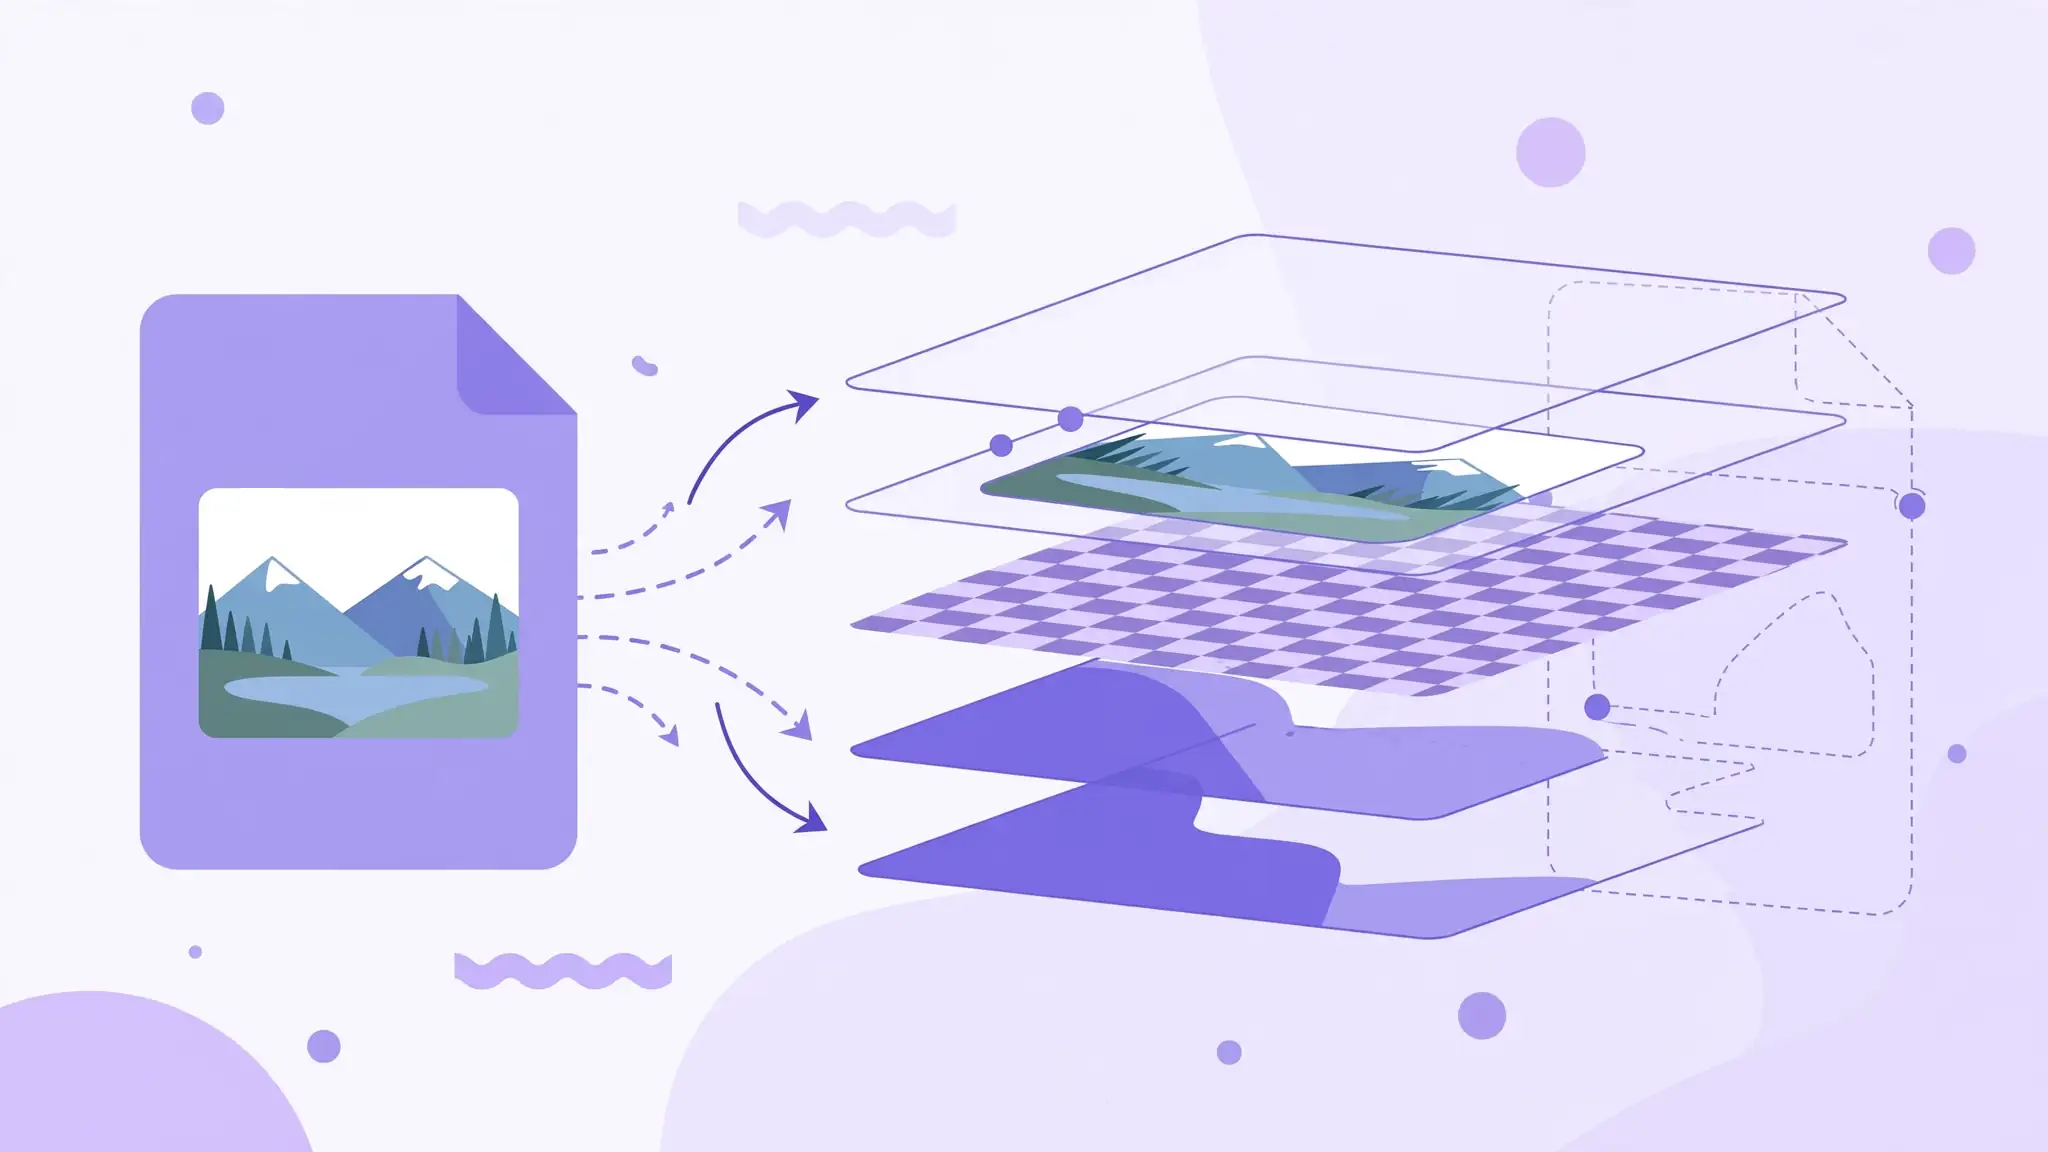
Here's the catch everyone hits once: JPG has no alpha channel, so it cannot store transparency. When you convert a transparent PNG — a logo, an icon, a cutout — those transparent areas get filled with a solid color, almost always white. Your floating logo is now trapped in a white box.
Check before converting: does the image actually use transparency? If yes and it matters (logo on a colored background), don't convert — or convert to WebP, which keeps transparency at JPG-like sizes. If the PNG has no transparent areas (most screenshots don't), convert freely; nothing is lost.
When to Keep the PNG
Don't convert everything. Keep PNG when:
Simple rule: photos and screenshots without transparency go to JPG. Graphics with text, transparency, or sharp edges stay PNG. When in doubt, keep the PNG master and export a JPG copy for sharing — you get both. Storage is cheap, but bandwidth, upload time, and your recipient's patience are not.
- You need transparency — logos, icons, and cutouts on varied backgrounds.
- The image has sharp text — screenshots, UI mockups, diagrams; JPG artifacts blur fine letterforms.
- It's pixel-perfect graphics — infographics and line art where every edge matters.
- You'll edit it again — PNG survives unlimited re-saves; JPG degrades each time.