What an online screen recorder does
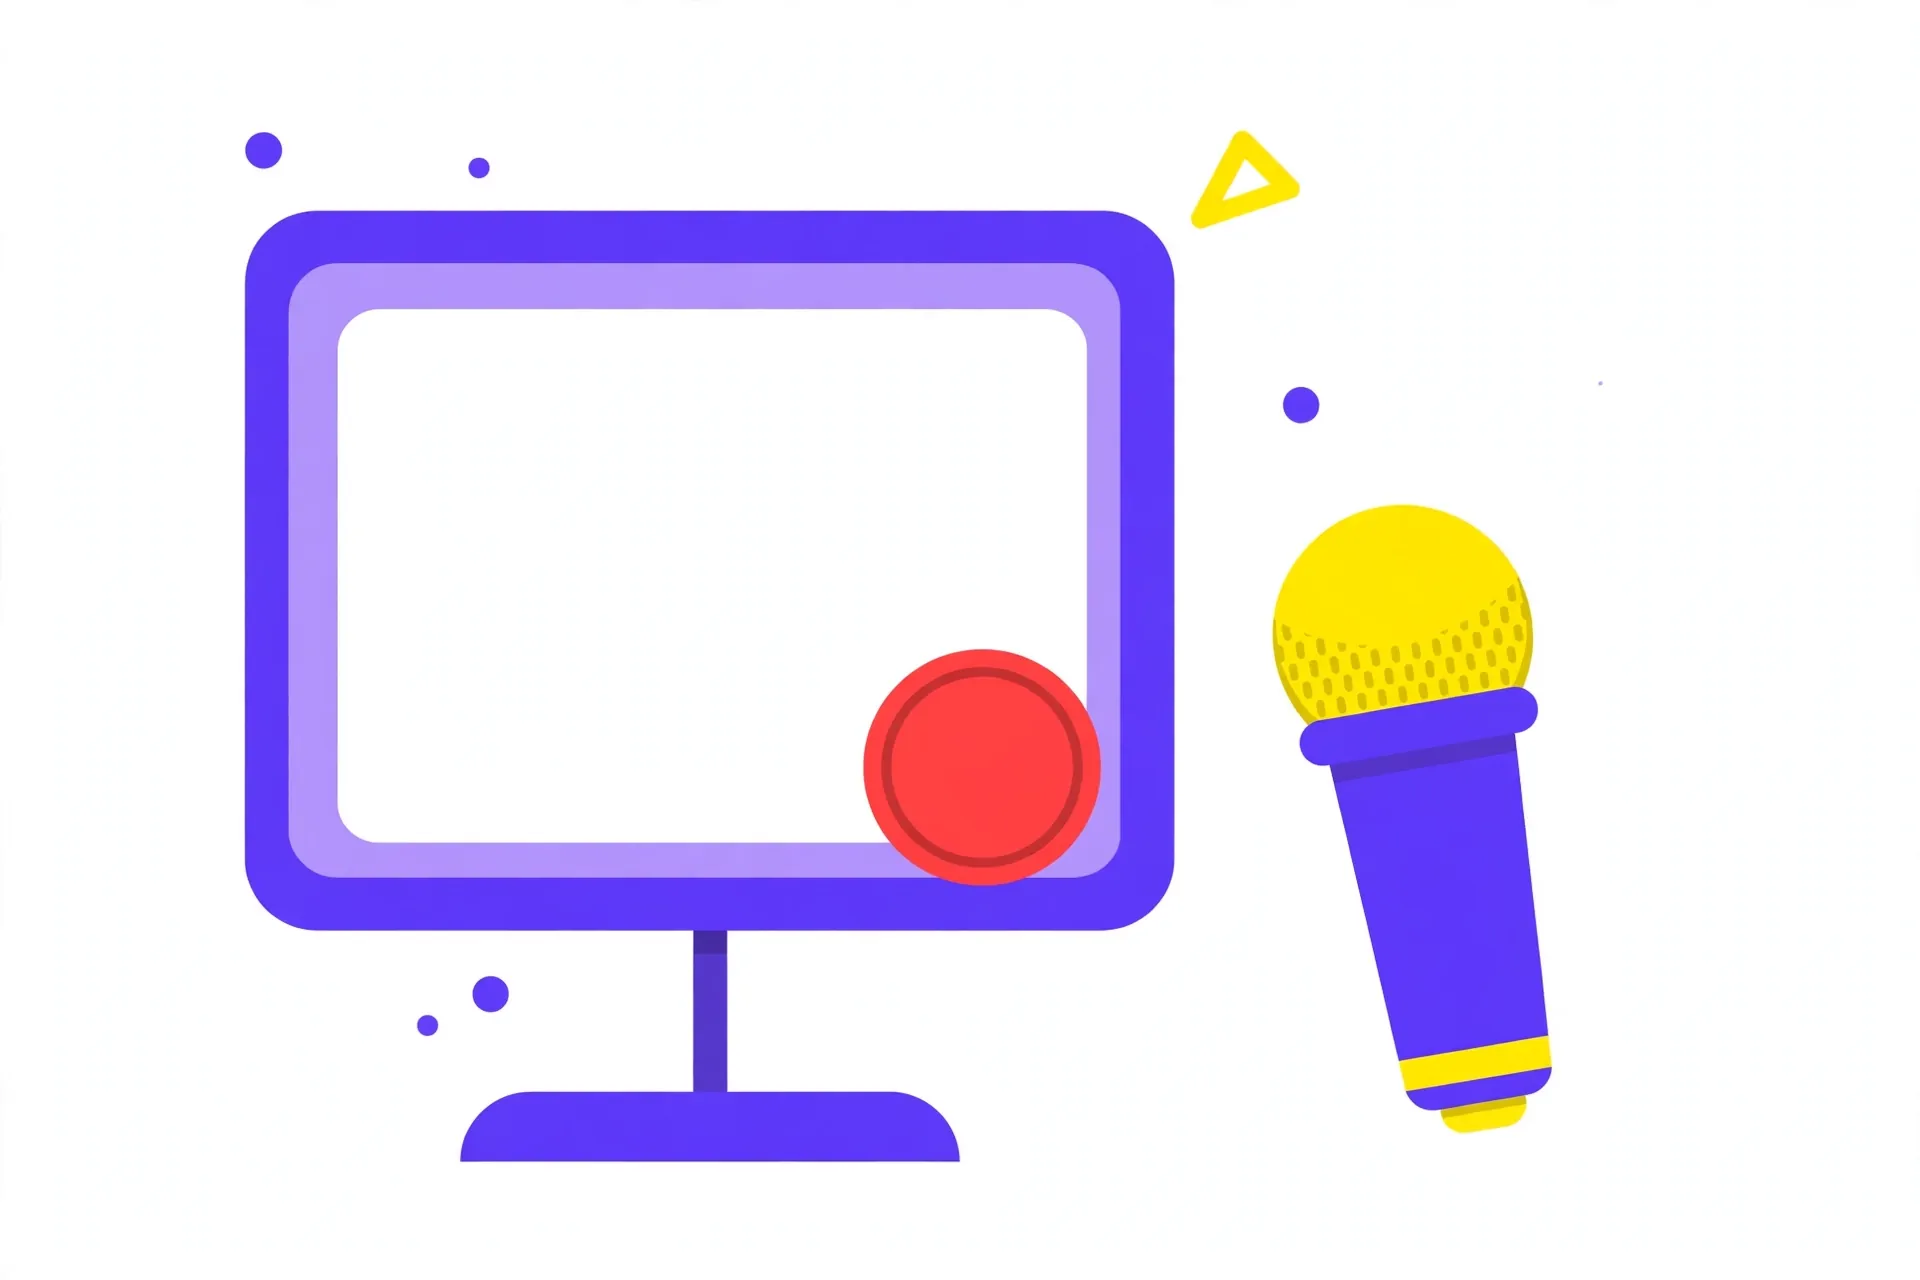
An online screen recorder captures what is on your screen using your browser's built-in screen-sharing feature — no app to install, no account to create, and nothing to set up in advance. You open the tool in a browser tab, choose what to share, and press record.
It is the fastest option when you need a quick recording: a tutorial, a bug to show a developer, a presentation walkthrough, or a clip for a colleague. Because everything happens in the browser, there is no download to wait for and no software to keep updated.
The recording is saved on your device when you finish, so your video does not sit on someone else's server. That matters for work recordings that show private screens, customer data or unreleased material.
The trade-off is that a browser recorder does what the browser allows — it captures the screen and, optionally, your microphone. If you need advanced editing, effects or system-wide audio mixing, a desktop recording app is the better tool. For a straightforward screen capture, the browser version is usually enough.
How to record your screen, step by step
Recording takes a few steps and no setup. Open the screen recorder in your browser, then choose what to share when the browser asks: your entire screen, a single application window, or one browser tab.
Allow the screen-sharing permission, then start the recording. A recording indicator appears while it runs — record what you need, then stop it from the browser's sharing control or from the tool itself.
When the recording stops, preview it if the tool offers one, then download it. The file saves as WebM, which plays directly in modern browsers and most video players.
Do a short test recording first, especially before anything important. A ten-second test tells you whether the right screen is being captured, whether the microphone is on, and whether the file downloads cleanly — all before you record the real thing.
- Open the screen recorder in your browser.
- Choose your entire screen, one window, or one browser tab.
- Allow the screen-sharing permission and start recording.
- Stop the recording, preview it, then download the WebM file.
Screen, window or tab: which to choose
Recording your entire screen captures everything visible on that monitor, including the taskbar, other windows and any notifications that pop up. Use it for demos that move between apps, or when you want the viewer to see exactly what you see.
Recording one window captures a single application and nothing else. It is the tidy choice for software tutorials: the viewer sees the app, and anything you open in another window stays private.
Recording one browser tab captures just that tab. It is ideal for showing a website or a web app, and it keeps your other tabs, bookmarks and extensions out of the video entirely.
Choose before you press record, because the choice sets what the viewer can see. When in doubt, record a window or a tab rather than the whole screen — it is easier to keep private things private.
Recording with microphone audio
Microphone audio is optional, and it is worth deciding before you start. Turn the microphone on if you want to narrate, and leave it off for a silent demonstration you will explain later.
Test the microphone with a short recording first. Speak at your normal volume and play it back: too quiet is easy to fix by moving closer or raising the input level, but a recording made with the wrong microphone selected is hard to rescue.
Record somewhere quiet, close apps that make notification sounds, and silence your phone. A single message ping in the middle of a clean take means recording the whole thing again.
If you stumble over a sentence, pause for a second and start the sentence again rather than stopping the recording. A clean pause is easy to cut out later; a half-finished sentence is not.
The bottom line
What you get is a WebM video file on your own device, ready to share or edit. It plays in modern browsers and most players, and you can convert it if a platform needs a different format. Recordings grow with length, so longer sessions mean larger files — keep an eye on the size if you plan to send the file by email or message.